
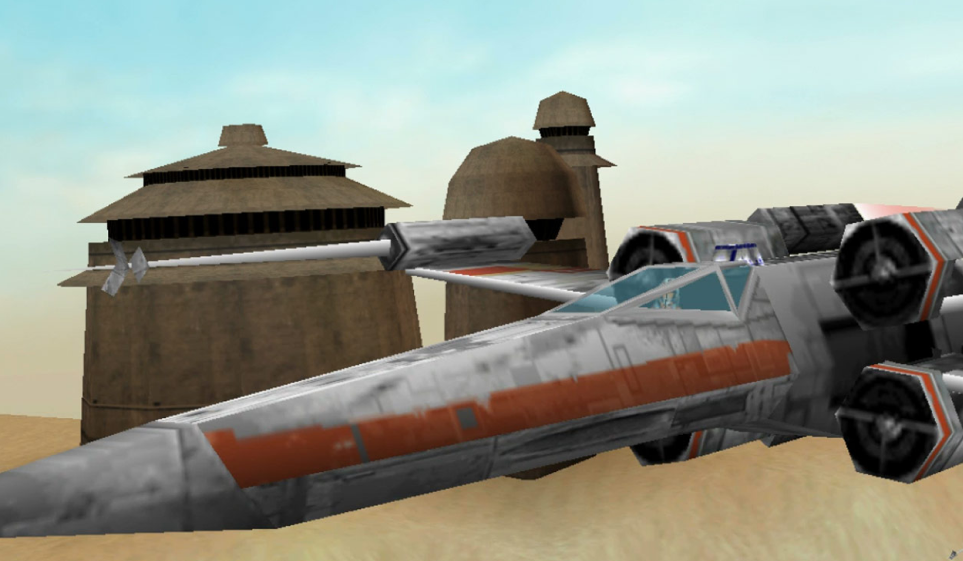
Complex Drawing
Polygon
const {polygon} = jscad.primitives;In one of the previous sessions, we introduced the simple 2D primitives like rectangle and circle. When we want to draw more complex shapes we can use the polygon function. Think of it as the p5js' vertex function for JSCAD:
const poly = polygon({
  points: [ // clockwise
    [-10, -10],
    [10, -10],
    [10, 10],
    [-10, 10],
    [-10, -10],
  ]
});
As the points attribute we pass an array of points. If you later want to extrude the polygon, it is important, that the points are provided in clockwise order.
You can also add holes to your polygon. Add the original shape to an array and then add the holes. Important: The holes are counter-clockwise:
const poly = polygon({
  points: [
    [ // clockwise
      [-10, -10],
      [10, -10],
      [10, 10],
      [-10, 10],
      [-10, -10],
    ],
    [ // counter-clockwise
      [-5, -5],
      [-5, 5],
      [5, 5],
      [5, -5],
      [-5, -5],
    ]
  ]
});
Polyhedrons
const {polyhedron} = jscad.primitives;The last bodies we will discuss are the polyhedrons. But before a little bit of context on the construction and rendering of 3D objects. If you have used any 3D software or 3D rendered objects (e.g. in computer games), you will have noticed, if you get very close, the surfaces of objects are not very smooth, but consist of rough geometric shapes:
Even round shapes, when observed closely consist of segments. Today those segments are harder to see, because 3D engines can easily process more segments and, therefore, generate smoother curves. At the lowest level all 3D bodies are constructed from a lot of triangles (faces). Each triangle has three points (vertices) which are connected (edges).
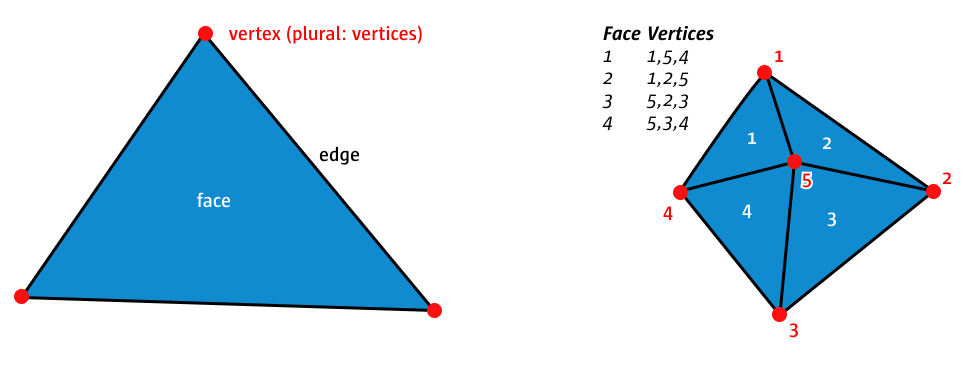
Why triangles? Triangles are the most simple shape and a triangle is always flat. You cannot bend a triangle. Think about a piece of paper. If you cut out a triangle, you can move each corner up and down, but the surface will always stay even. Do the same with a square. If you only move one corner and the other three stay the same, you will bend the piece of paper and, thereby, create two triangles. Having a flat surface is for example important when you calculate how light is reflect from that surface, or how the 3D printer should construct the surface.
When we want to build complex custom objects ourselves, we have to think in triangles and how to construct them. To achieve this we pass a list of points (vertices) and then a list of faces, each face is defined by the index of three points. The simplest version, a triangle:
{
  "points": [
    [-10, -10, 0],
    [10, -10, 0],
    [10, 10, 0]
  ],
  "faces": [
    [0, 1, 2]
  ]
}
A rectangle:
{
  "points": [
    [-10, -10, 0],
    [10, -10, 0],
    [10, 10, 0],
    [-10, 10, 0]
  ],
  "faces": [
    [0, 1, 2],
    [2, 3, 1]
  ]
}
Notice that the above faces use the points multiple times. So instead of having 6 points, 3 for each of the two triangles in the points array. We only provide the really necessary points and than reuse them. This is not a requirement, the following would create the same shape:
{
  "points": [
    [-10, -10, 0],
    [10, -10, 0],
    [10, 10, 0],
    [10, 10, 0],
    [-10, 10, 0],
    [-10, -10, 0]
  ],
  "faces": [
    [0, 1, 2],
    [3, 4, 5]
  ]
}
If we provide each point individually, we have to make sure that they are correctly aligned. Otherwise, we will have holes in the surface of our body later on, which will for example create problems when we want to send it to a 3D-printer.
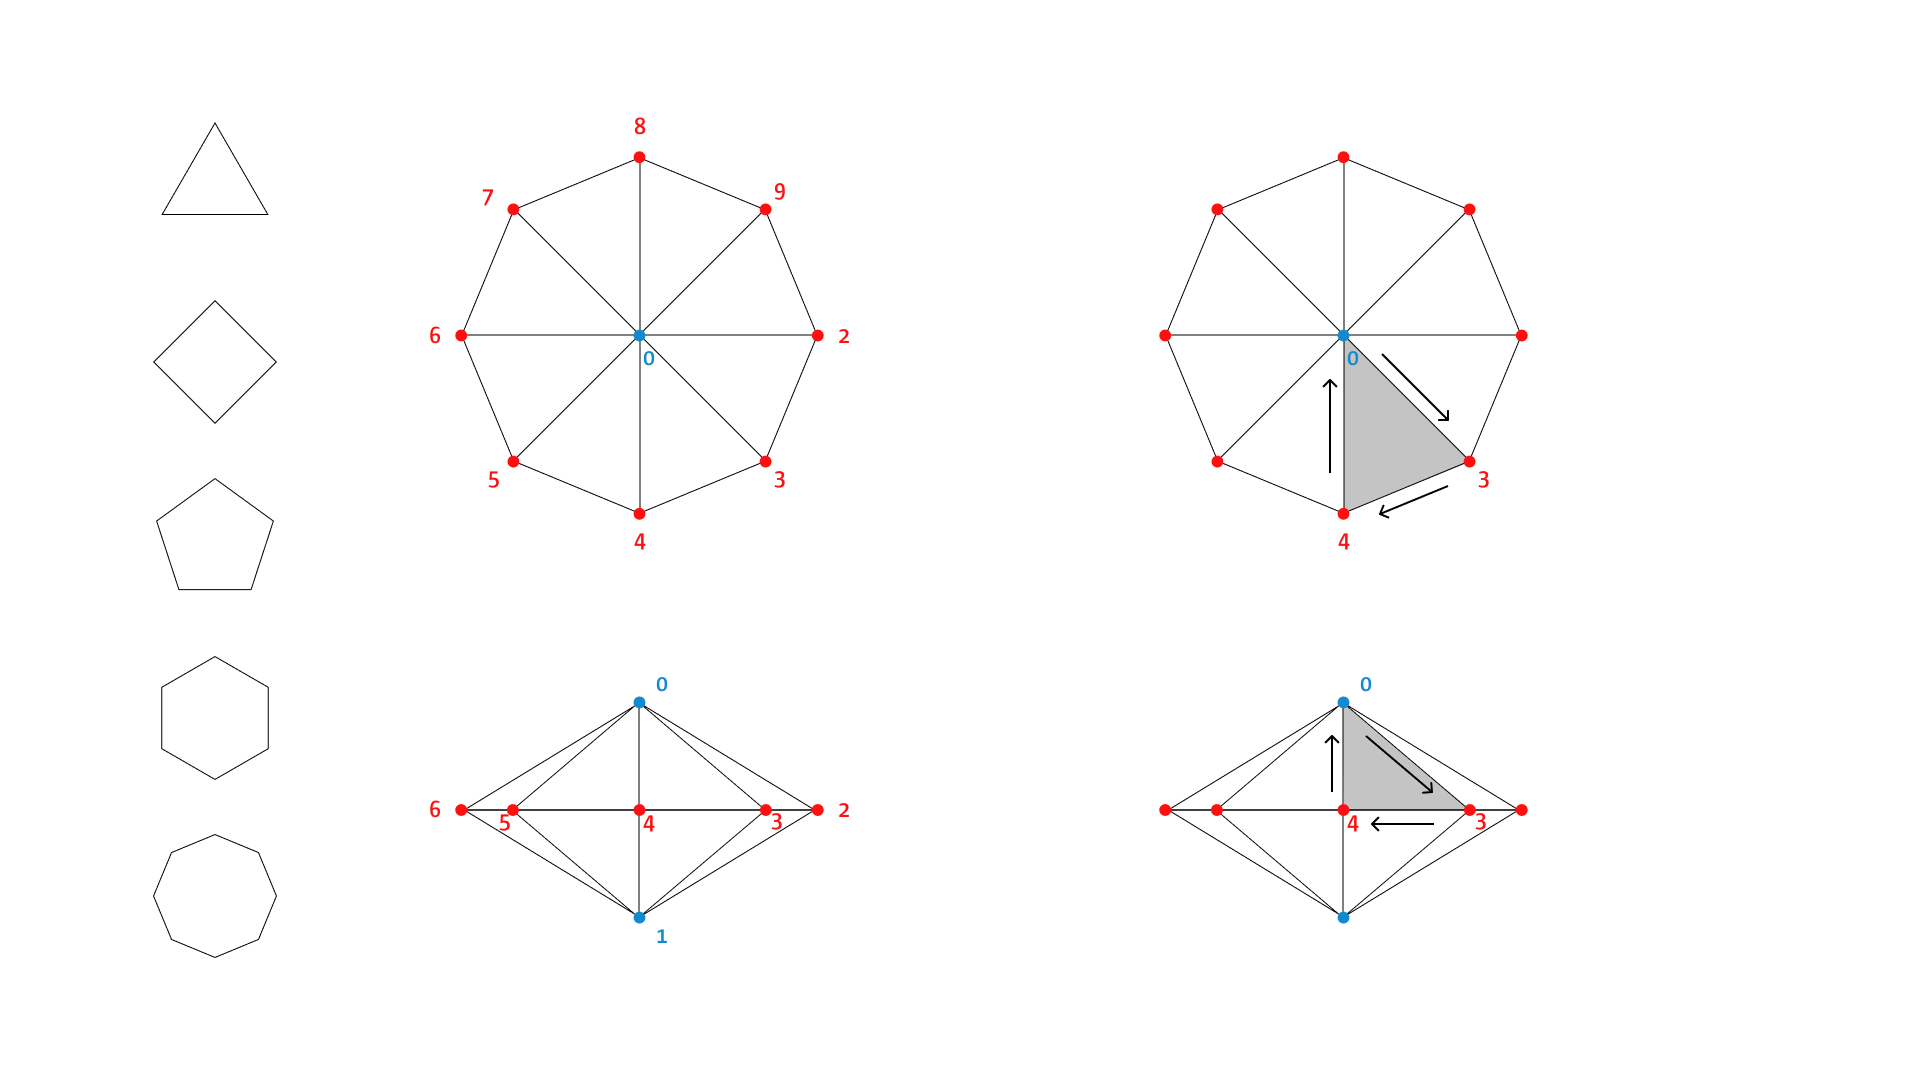
To make it even more tricky, the order of points needs to be clockwise if you look from the outside onto a face. :)
This is a lot to take in, but it gives you the ultimate power over any 3D shape that you would like to create. Its usually best to start with a sketch and figuring out, how to best structure our faces:
const jscad = require('@jscad/modeling');

const {polyhedron} = jscad.primitives;

function polar(radius, angle) {
  const rad = Math.PI / 180 * angle;
  const x = radius * Math.cos(rad);
  const y = radius * Math.sin(rad);
  return {x, y};
}

const main = () => {


  const height = 50;

  const top = [0, 0, height];
  const bottom = [0, 0, -height];

  const numPoints = 5;
  const radius = 4;

  const points = [top, bottom];

  for (let p = 0; p < numPoints; p += 1) {
    const point = polar(radius, 360 / numPoints * p);
    points.push([point.x, point.y, 0]);
  }

  const faces = [];

  for (let p = 0; p < numPoints; p += 1) {
    // top
    let p1 = p + 2;
    let p2 = p + 3;
    let p3 = 0;
    if (p === numPoints - 1) {
      p2 = 2;
    }
    faces.push([p1, p2, p3]);

    // bottom
    p3 = 1;
    faces.push([p3, p2, p1]);
  }

  let shape = polyhedron({
    points: points,
    faces: faces,
    orientation: 'outward'
  });

  return shape;
};

module.exports = { main };
Task: Parametric Object
Create a 3D body and use parameters for sizes and transforms.
Inspiration: Data-driven Surface
Inspired by the works of nand.io who did a 3D printed data visualisation. This example generates a three-dimensional area chart. Check out the code in the learning-repo and modify the data array.
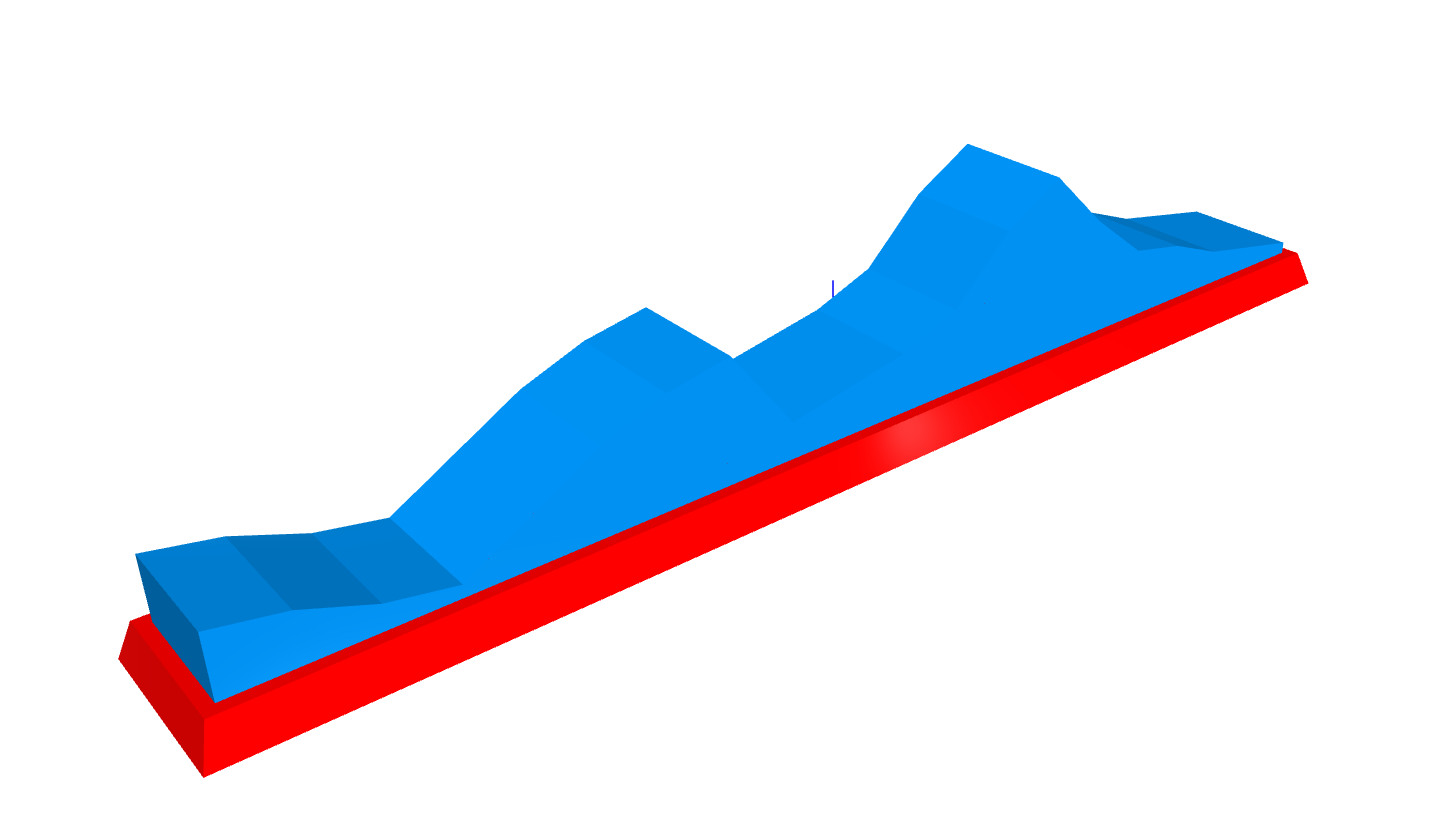
View on GitHub/lectures/3d/nand